
How To Convert Video To Audio On Mac
12 abril, 2021
Not seeing the Debug menu in Safari for macOS Big Sur (Safari 14+)? Fix it
12 abril, 2021How to Disable the Floating Screenshots Preview on Mac using macOS
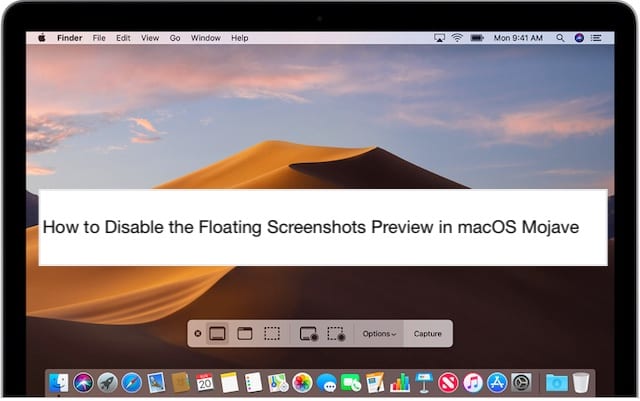
If you recently updated your Mac or MacBook to macOS to Mojave and above, you would have noticed that when you take a screenshot using Option+Shift+4 keys, it creates a little preview on the bottom of the screen and then after a few seconds, the screenshot is moved to your desktop. Here is how you can stop these floating screenshots in macOS and directly access the images on your desktop.
Disable Screenshot Preview in macOS Mojave and above
If you have been manually swapping out the screenshot on the right after upgrading to macOS, follow the steps below to deal with the annoyance for once and for all.
- Start by Opening the macOS Screenshot utility by using CMD+Shift+5 Keys.
- Another way of accessing the screenshot utility in macOS is to open up your spotlight and then type in ‘Screenshot’ and then launch the app

- Once the screenshot Utility is up and running, click on the options at the far right of the window
- Disable ‘Show Floating Thumbnail’ by unselecting it.
- Exit out of the utility by clicking on the ‘X’
- This will keep the screenshots from showing up as the floating image on your screen


Since, you are already here in the screenshot utility options, here are a few things you can check out.
Grab Utility in macOS Mojave and above
First and foremost, the old Grab Utility on macOS has been replaced by this new screenshot utility. When you search for Grab using macOS Mojave+, it will bring up the screenshot utility instead. That being said, if you do want to use the old grab utility on macOS, you can retrieve an older copy from your time machine and continue using it.
Here is an article that walks you through the detailed process of setting this up.
Savings Screenshots to a Folder of Choice
When working with screenshots on our MacBook and Macs, many of us would like to store the screenshots in a designated folder for later retrieval instead of moving these screenshots to the desktop. This just keeps your desktop clean and clutter-free.
Use the Screenshot Utility Options and choose ‘Other Location..’ in the Save options and choose a folder.
Once you have set it up, the screenshots will be stored in the designated folder. You can click on the ‘x’ to exit out of the screenshot utility.
Drop us a line!
We hope that you found this quick tip useful. Please let us know in the comments if you have any questions or if you would like to share one of your favorite macOS tips.

Obsessed with tech since the early arrival of A/UX on Apple, Sudz (SK) is responsible for the editorial direction of AppleToolBox. He is based out of Los Angeles, CA.
Sudz specializes in covering all things macOS, having reviewed dozens of OS X and macOS developments over the years.
In a former life, Sudz worked helping Fortune 100 companies with their technology and business transformation aspirations.


